A Day in the Life – of the Greenhouse

We enhanced the greenhouse to be able to grow year-round. But how well does a wood and plastic wrapped metal structure actually do in the winter?

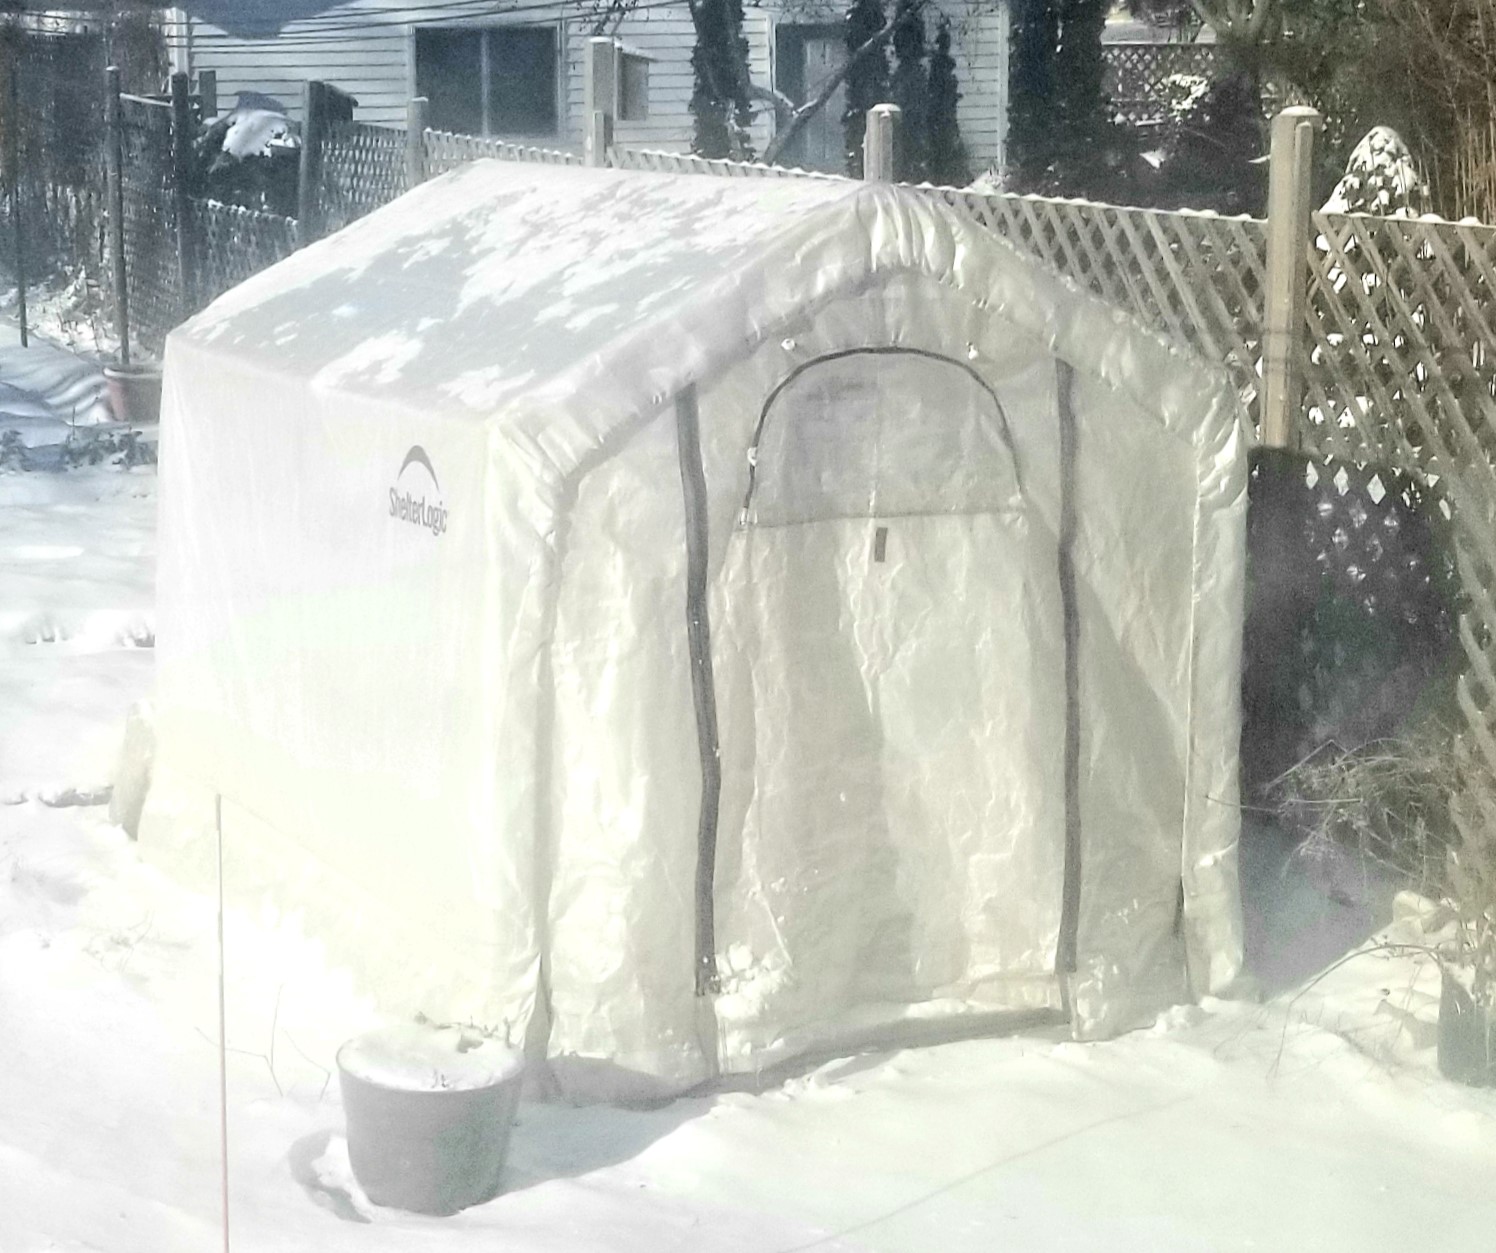
Well, winter arrived this week – and appears set to leave next week thankfully. Overnight temperatures reached what we’re calling negative stupid. The greenhouse, I’m happy to say, held up sufficiently.

For these colder months, when we want to capture as much heat as we can, the ventilation fans are unplugged and covered over with a double layer of the 10mil plastic we used. We want the heat to be absorbed as much as possible in the stone floor, the planting box, and the metal shelves. As it is, though, with these ridiculous temperatures, I’m not sure the heat hit the point where they would have come on anyway.

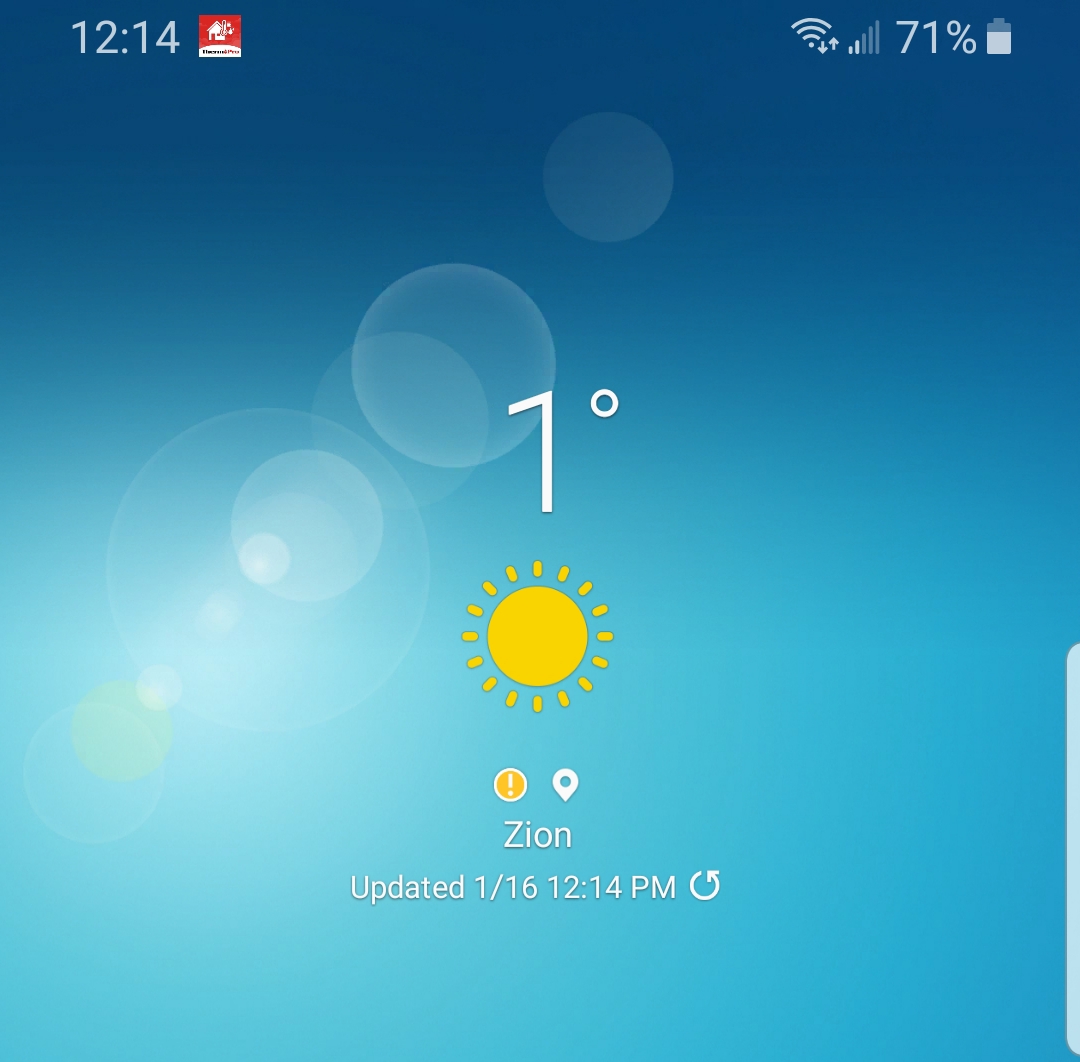
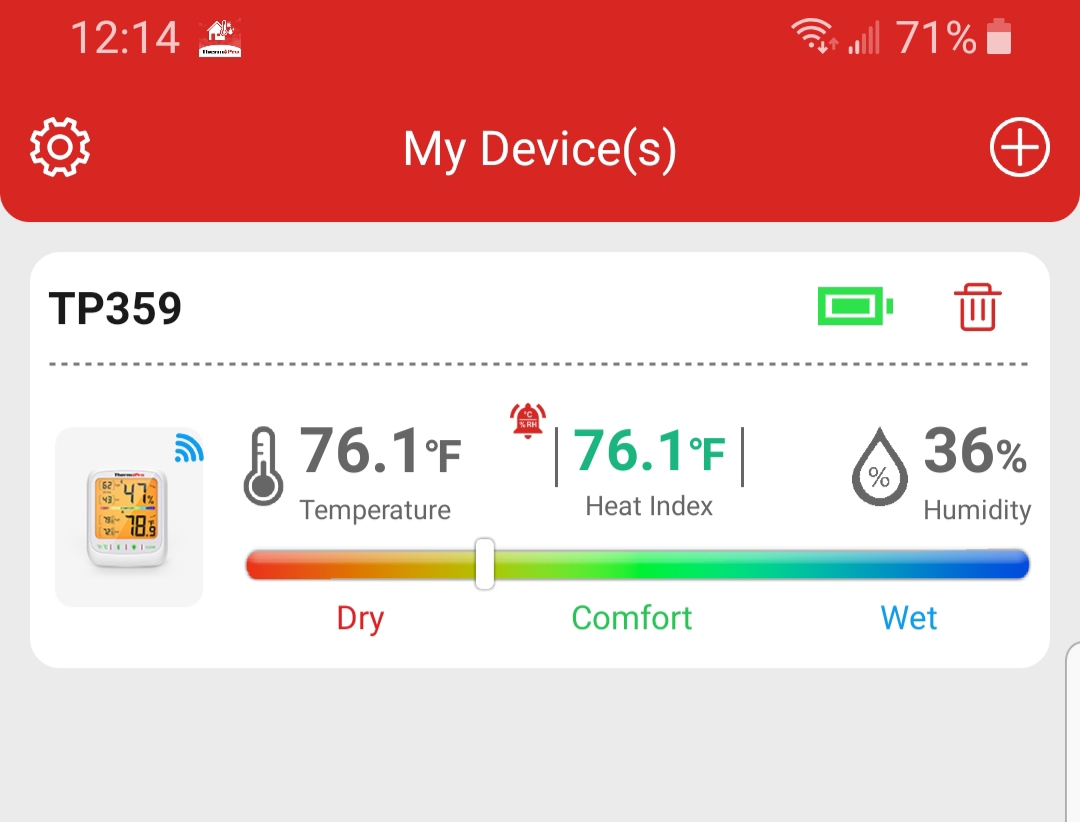
How hot does it get when it’s below zero outside? The sun is powerful. Even with a few clouds, it brings the greenhouse to comfortable temps. I generally remove my sweater or jacket the moment I enter it. By mid-morning, it’s approaching 70° and as long as the sun is out, it stays warm inside when it’s deathly cold outside.

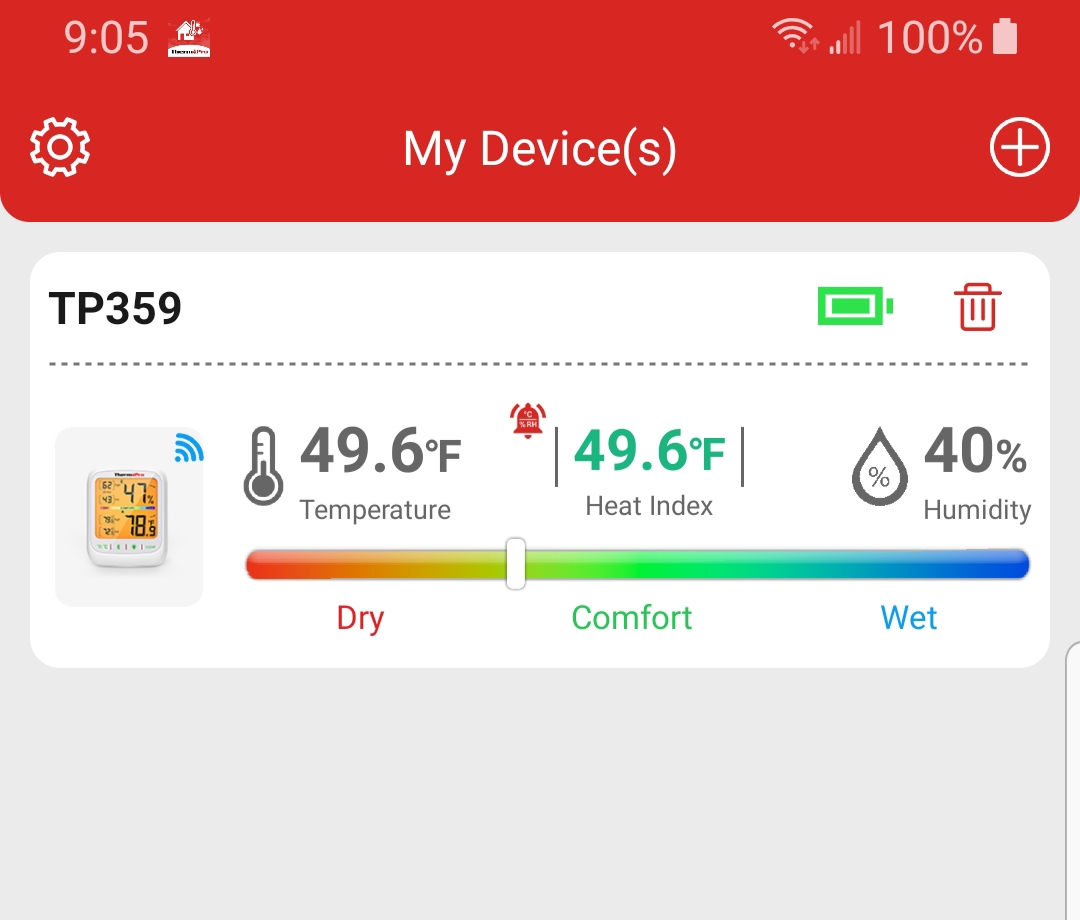
Overnight, when the temps would make a polar bear happy, the heating setup kept it in the mid to upper 40s. I would have liked it to stay a little warmer, but at least nothing is going to freeze or die off on us. Though, I am wondering if a slightly larger heater would keep it warmer. The two I have are rated for a garage (main) and small rooms (backup). When the temp drops below 48°, the second kicks in to help.

Next year, because we appear to have made it through this year, I may install a larger main heater and reassign the garage one as the backup/supplemental unit. I also want to install a small solar kit to take over running them. Toward that end, I installed monitors to record how much power they are using so I know what size system to install. In the summer, we’ll use it to power the backyard lights, charge yard equipment batteries, etc.

Unfortunately, starting seeds has been a problem because of the cooler soil temperatures in the planting box. This is probably because we got a late start trying to grow winter crops, because we weren’t able to perform the enhancements until October due to the constraints of the budget and my recovery status. It was close to and shortly after Halloween, when we finally got anything started. By then, the overnight lows inside the structure cooled the soil down too much. Next year, we’ll be able to start earlier and start seeds on heating pads, if necessary.

As it is, we’re patting ourselves on the back because the enhancement has worked, if not quite as well as envisioned. These low overnight temps mean growth is slowed or paused. As long as nothing is killed off, though, we can live with that.

Ladder Plant Rack

So, we did a little thing this weekend; a quick project for the green wall along the picture window in the front. I don’t like closing out the light and, during the summer, air from outside by keeping the curtains drawn. Yet, we want the privacy that would bring. The solution: a wall of plants.

I’ve created a wall like this before. I once, ridiculously, lost a camouflage mug on a window shelf for over a month because it was tucked away in the plants. Thankfully it was empty when I set it down. I only found it when I was wiping dust away from the leaves with a wet cloth. Otherwise, it might have stayed there until we packed to move.

Before moving into this house, we moved a couple of times in quick succession, losing and giving away some of our larger plants in the process. Our first years here, we focused on the garden and simply getting by. With the major garden projects done for the season and having recovered from my chemotherapy, I’m ready and finally able to get going on indoor projects.

So, what did we do? We gave the plants a ladder to climb the ceiling.

This was an idea I’d had a few years ago and had the chance to bring together this fall, when we found an affordable, antique ladder in a cool shop on Wisconsin Hwy 50. (It’s actually called The Cool School Antique Mall, because it’s in an old school house.) $40 got us a nine-foot section of an old, wooden ladder. Most other places had wanted absurd amounts upwards of $100 for such a section. It’s like everyone just wants to get rich quick with the least effort these days.

Anyway…

Once we drove the twenty miles or so back home with the ladder sticking about four feet out of the trunk, it was time to find what we needed to anchor it securely to the ceiling. Without a doubt, the plan was always to screw it into the ceiling joists. We bought some stout brackets and heavy gauge screws, #10 for anchoring into the ladder and #12 for anchoring into the joists. These were the largest that would fit through the brackets’ holes. The plan was to attach the brackets to the inside of the ladder so that you wouldn’t see them. The ladder would appear to be floating against the ceiling.

The first step was to locate the joists using our brand-new stud finder. Maybe I should have bought the super-duper, deluxe model. Because the mid-quality one worked fine on the walls, but barely found anything in the ceiling. There are a few extra holes being hidden by the ladder. I then attached two of the brackets in line with the wall using my square to get them parallel to the wall. I measured the distance between them and how far they were off from the center of the window, and how long the ladder exactly was. I did the math and translated these measurements to the ladder so it would be centered on the window and, to my dismay, found one of them lined up with the rungs. So much for my floating ladder.

Maths
Used a marker to be sure I had the points marked in the center.

Plan B, naturally, was to put them on the outside. Of course, that meant taking down the first two, leaving some holes I need to fill in with spackling compound. Because to keep the ladder the correct distance from the wall meant remounting the brackets closer, i.e. on the other side of the ladder. After attaching all four brackets to the ladder, I held it to the ceiling in line with markings I had earlier made and Beth put one screw in at each bracket to tack it in place, allowing me to let go. That was a bit of a shoulder workout. With the ladder held in place, Beth, battling through the clouds of plaster dust released in drilling pilot holes, finished securing it with the rest of the screws.

Drilling the pilot holes.

I gave it a good tug. It’s solidly into the joists. I’m not worried about the weight of the plants and sun catchers we’ll be hanging from it.

To be sure the hanging plants don’t end up growing toward the window and away from our view, I zip-tied on clips that pivot. I will give them all a quarter turn at their weekly watering. I do this with all of my plants to keep them from developing phototropism, aka flopping over to one side in search of light.

Pivoting clip

Once it was up and we’d hung the first few plants, I asked Beth what she thought. Funky cool or funky crazy. She answered, “Yes.”

What do you think?